
I found Buckram in Hobby Lobby. Probably not thick enough for a true Milliner, but it worked for me. I got a yard (maybe and a half) of it to play around with. I also bought a $2 straw hat that I was going to spraypaint and glue flowers and feathers too just incase it didnt turn out so well. I ended up using it as a pattern. I traced the brim onto 2 layers of buckram.

So I have a toilet seat looking piece now and then I cut out a circle in the middle, big enough to fit my head, for the crown. I may have used the straw hat as a size guide too.

On the outside edge of those circles (remember I used 2 layers of buckram) I zigzag stitched some floral wire onto it. Floral wire because I didnt have any milliners wire, and it was it is pretty stiff wire. Green yes, but it didnt show in the final product. I then cut some more buckram, about a 2 inch wide strip and whip stitched it to the wired circles. Hey! This looks like a pillbox hat!


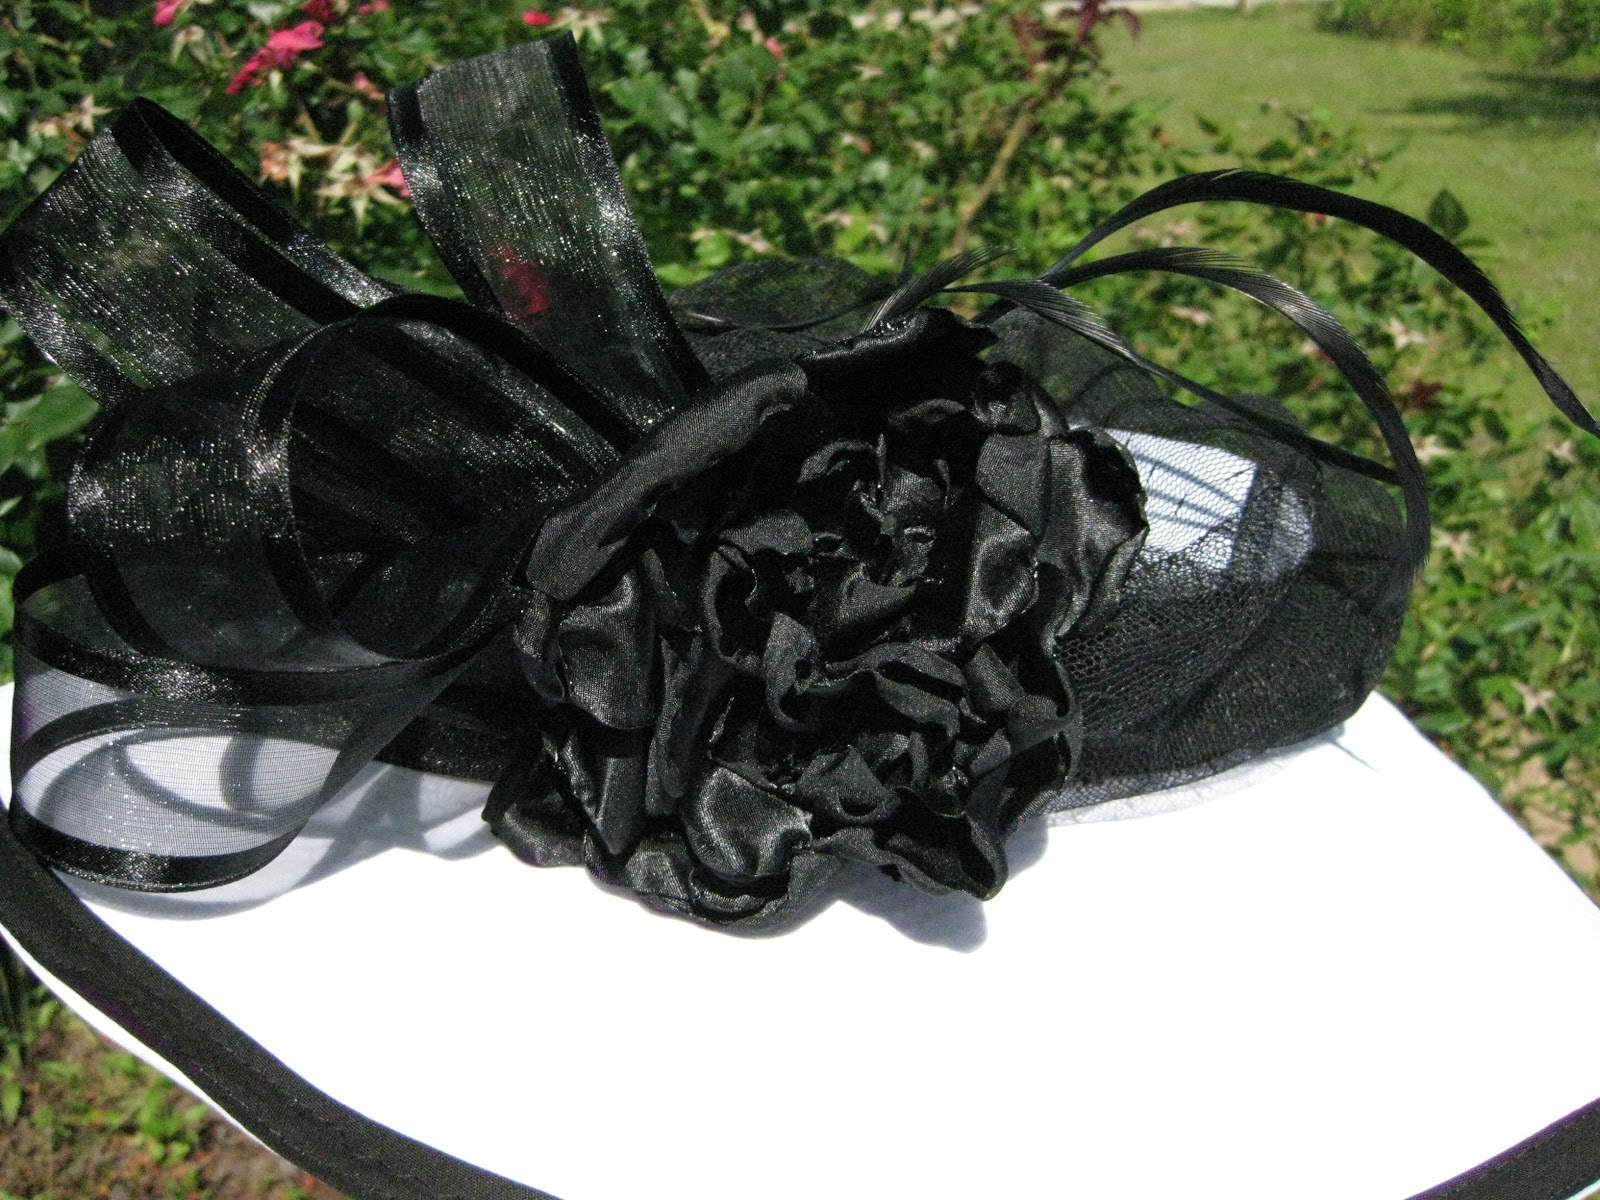
In this pic you can sort of see under the lacy netting where I took a sheer,wired, black ribbon and tacked it around the crown of the hat to hide the seam where it met the brim.
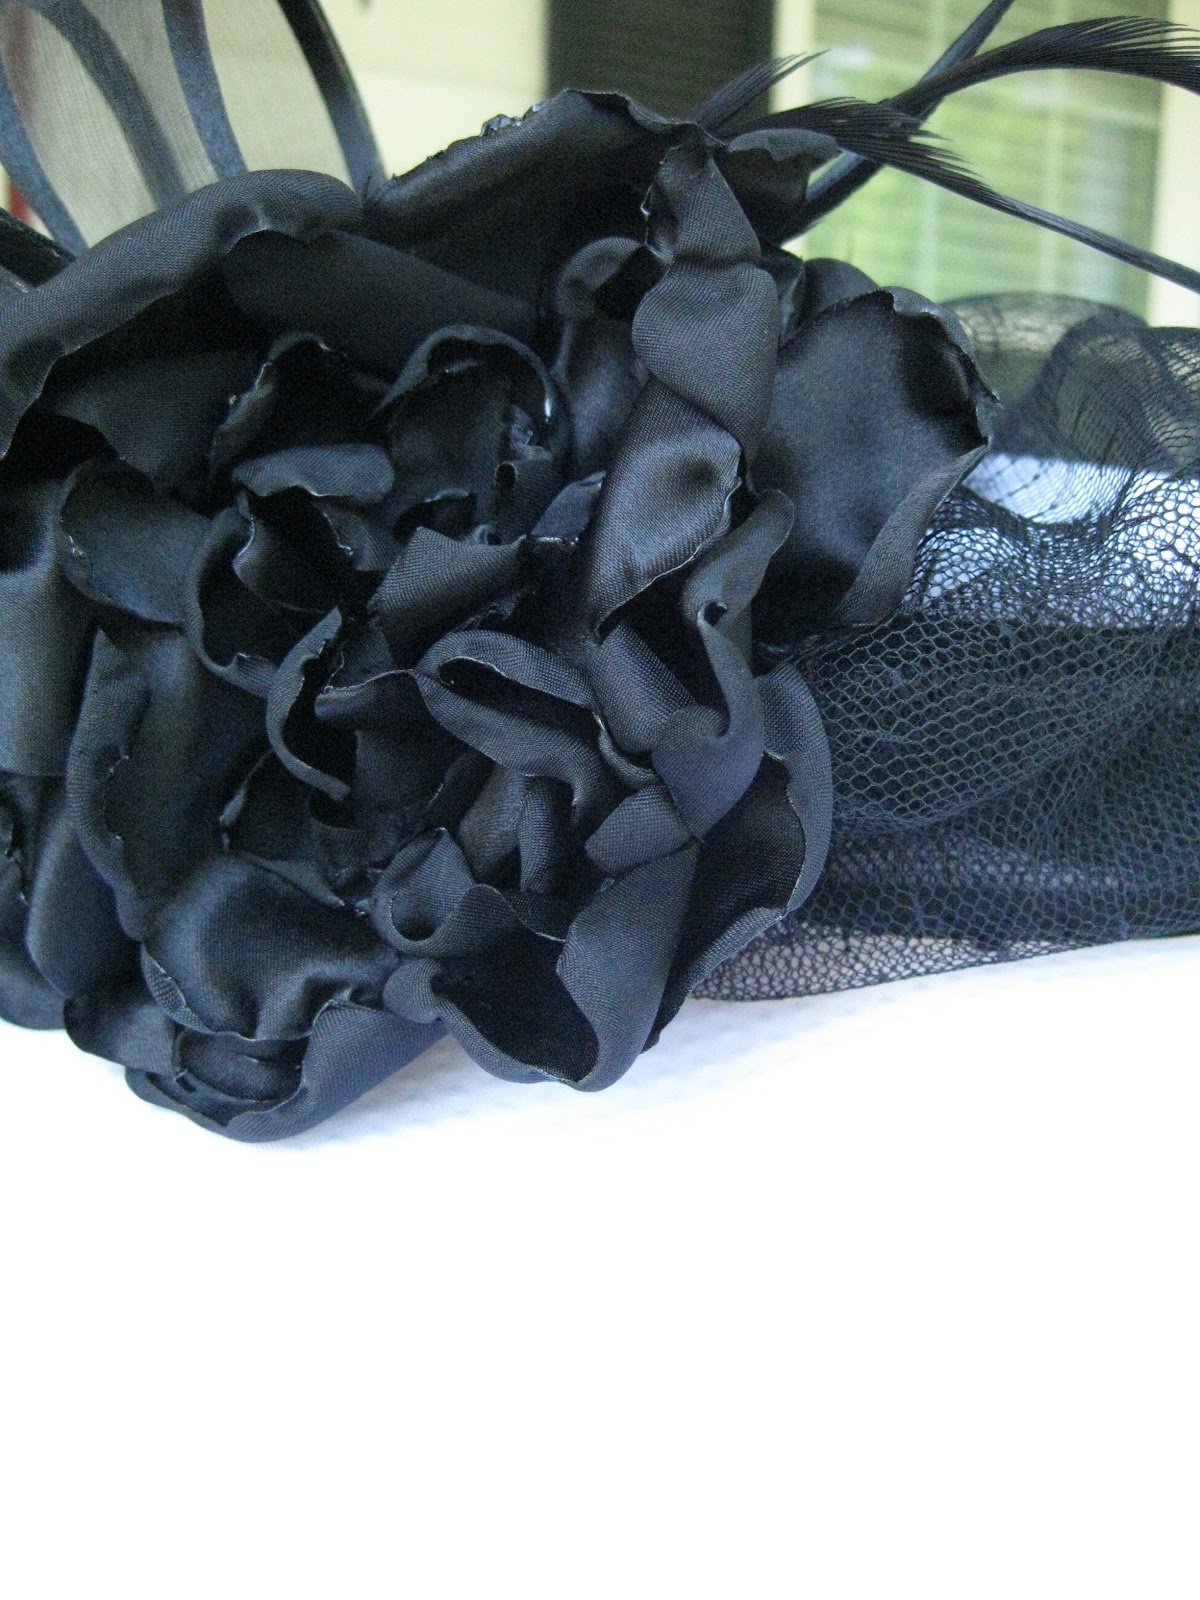
I then decorated it with stuff I had in my craft closet. The netting I had already and just sort of covered the brim with it and tucked the ends under the ribbon around the crown. I used more of the ribbon to make a sort of bow. I knew I wanted a flower too, but the black flowers in Hob Lob were ugly and looked like death. The white Lilies I got didn't look as good as I hoped. So I Googled how to make fabric flowers and that is what I came up with. I love it! I also added some long, skinny feathers that I had to give it some movement, and because fancy hats should have feathers. I didn't glue any of the embellishments on just in case I wanted to take them off later on down the road and change the look.


3 comments:
Very cute! I love it!
Very creative, you have done a remarkable job with the hat, hope you had a good time.
Would you like to sell that hat or make another one?! My gf would love it! barcrawdad@hotmail.com
Post a Comment
I would SO love to hear from you!