Showing posts with label sewing. Show all posts

Thursday, July 28, 2011

Shabby Apple Knock-off

I just love the dresses at ShabbyApple.com. I am sure most of you know about them.  When I saw this dress I fell in love!
Photo from shabbyapple.com

However, I just cant justify spending almost $100 on a dress that will probably only get worn a couple of times a year. I just kept drooling over it though and finally thought. Hey! I bet I can make my own for much cheaper. I started off looking at patterns and found one I liked from McCalls. Its pattern #M4769. Now having sewn this supposedly simple pattern I can say that its a pain in the rear to do the collar, and there is a lot of hand sewing.. like the entire bottom hem and lots more, including all the buttons.  You may want to look for a better pattern if you make this. The instructions are poorly written and the illustrations are not much help when it comes to the collar. If any one wants this pattern. I will send it to you. No joke. I am done with it.
After I found a pattern I (thought I) liked I searched for the fabric. I couldnt find it locally, and so I Googled a lot. I finally found what I was looking for on Ebay. I wanted the navy gingham, but it needed to be a one inch check to look like the inspiration dress. Almost everything I found was under 1/2 inch, or not the right blue. The fabric I got is still a little lighter blue than I wanted, but it works.
Next up was the shoes. I did a quick search and found some super cute ones at Payless. Sorry to say they no longer have them. The only thing is they are red with white dots, but I think it works.
So now after weeks and weeks of putting it off, and 2 solid days of sewing, here is my dress!

OK. I know. I am about 12 sizes bigger than the Shabby Apple model and probably 10 inches shorter, but I just LOVE my dress! I was rushing to finish sewing it up so I could post, but I need to make some adjustments. Its a little too big up top :(
I dont really know if I like the shoes with it. I think I like these white ones better. I really want a less vibrant read sash too, and maybe one made out of satin. This was all I could find at my Hobby Lobby. 
Here I am inside with white shoes and the sash tied in back. Not a very good backdrop. I wish it were like the Shabby Apple dress pic with a sea in the background instead of a sea of books. 
oop. my slip is showing eek!
I bought some red tule last week because I want a red petticoat. I think it may look cute under this dress too! I'll have to get to sewing on it soon. 

The nice thing is it only cost me less than $20 to make the dress.
Thanks for dropping by.

Linking to:
Visit thecsiproject.com


sew many ways


Monday, July 11, 2011

Super Easy Sling Bag

My dear friend recently had a birthday and I wanted to make her something. Because thats what I do. So when I came across directions for a sling bag, I knew that is what I wanted to make her. Have you ever visited the blog "Crap I've Made"? HA! I just love the name, "crap" being my most favorite word and all.
Her directions for the reversible sling bag are so great! Go check it out and make a few. Here is the bag that I made.

Yes, (giggle) that is my 11 year old son holding the bag. He was the only one home to model for me.
 Here is the reverse side of the bag.

I got my fabrics at Hobby Lobby. I love them.

 The only things I did differently is I used my serger to make the seams extra sturdy. I also adjusted the pattern to make it a bit deeper. Simple to do, just moved the cutting line up several inches. Another change I made is I added 2 small, strong magnets to the inside top of the bag for a closure before I turned it right side out. I didnt take any pics of that. So sorry, but I just sewed them up in some scrap pieces and sewed it to the top edge seams. Oh and I also top stitched the edges. Not sure what a difference that makes, but I think it keeps it all together nicely. Thats it. Thanks for visiting today.


Wednesday, May 4, 2011

Fancy Hat

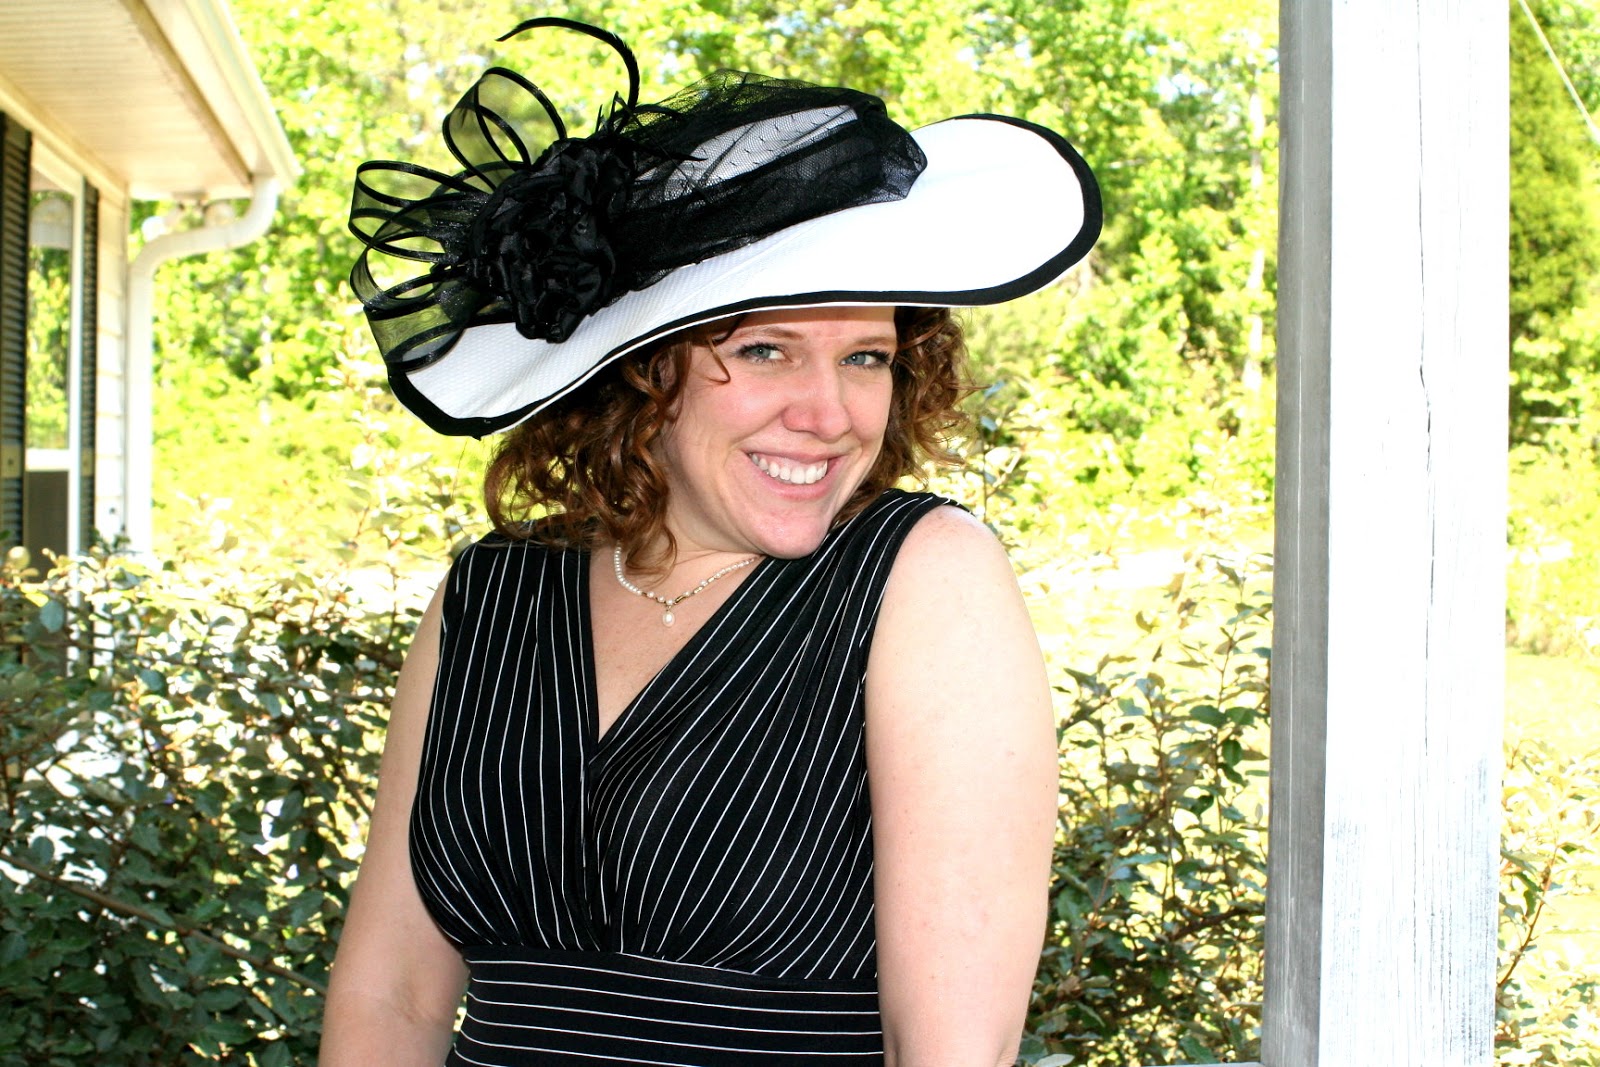
Last week my church had a Mother/Daughter tea. We were encouraged to dress up in a hat and gloves. Well, I happen to love to dress up and dont get many opportunities to, so I was all for that. Not wanting to spend 30 plus bucks on an ugly plain hat, I set off to make my own... because I love trying new crafty things. Since I didnt know what on earth I was doing this tutorial is not very good. Still, I thought I would give you a couple of the steps I did to make my own hat.
I found Buckram in Hobby Lobby. Probably not thick enough for a true Milliner, but it worked for me. I got a yard (maybe and a half) of it to play around with. I also bought a $2 straw hat that I was going to spraypaint and glue flowers and feathers too just incase it didnt turn out so well. I ended up using it as a pattern. I traced the brim onto 2 layers of buckram.
Side note: Cool thing about real straw hats is that they can be sprayed with water and shaped. I pushed in the top of mine because I was going to do something that I cant remember.
So I have a toilet seat looking piece now and then I cut out a circle in the middle, big enough  to fit my head, for the crown. I may have used the straw hat as a size guide too.
On the outside edge of those circles (remember I used 2 layers of buckram) I zigzag stitched some floral wire onto it. Floral wire because I didnt have any milliners wire, and it was it is pretty stiff wire. Green yes, but it didnt show in the final product.  I then cut some more buckram, about a 2 inch wide strip and whip stitched it to the wired circles. Hey! This looks like a pillbox hat!
 I also wired the brim, but I added the wire between the two buckram layers. This came in handy for shaping the brim. I wanted it to dip in the back and arch on the side.
I then covered the "pillbox" crown and brim with my fabric. A lovely Swiss dot-ish looking white fabric. I used Aleens tacky spray adhesive because I had it. Hard to tell here, but thats the fabric. Found it at Hobby Lobby also and bought a yard of it.
 Next day I sewed the crown to the brim. Around the edge of the brim I sewed on some white bias tape to cover the raw edges and wire. I then decided I liked the look of a black trim around the edge, but I had already bought white and sewn it on. I had some black, but it was narrow, so I only sewed it onto the top of the rim right on top of the white bias tape. (seriously lacking in pics because I had given up on a tutorial by now)
In this pic you can sort of see under the lacy netting where I took a sheer,wired, black ribbon and tacked it around the crown of the hat to hide the seam where it met the brim.

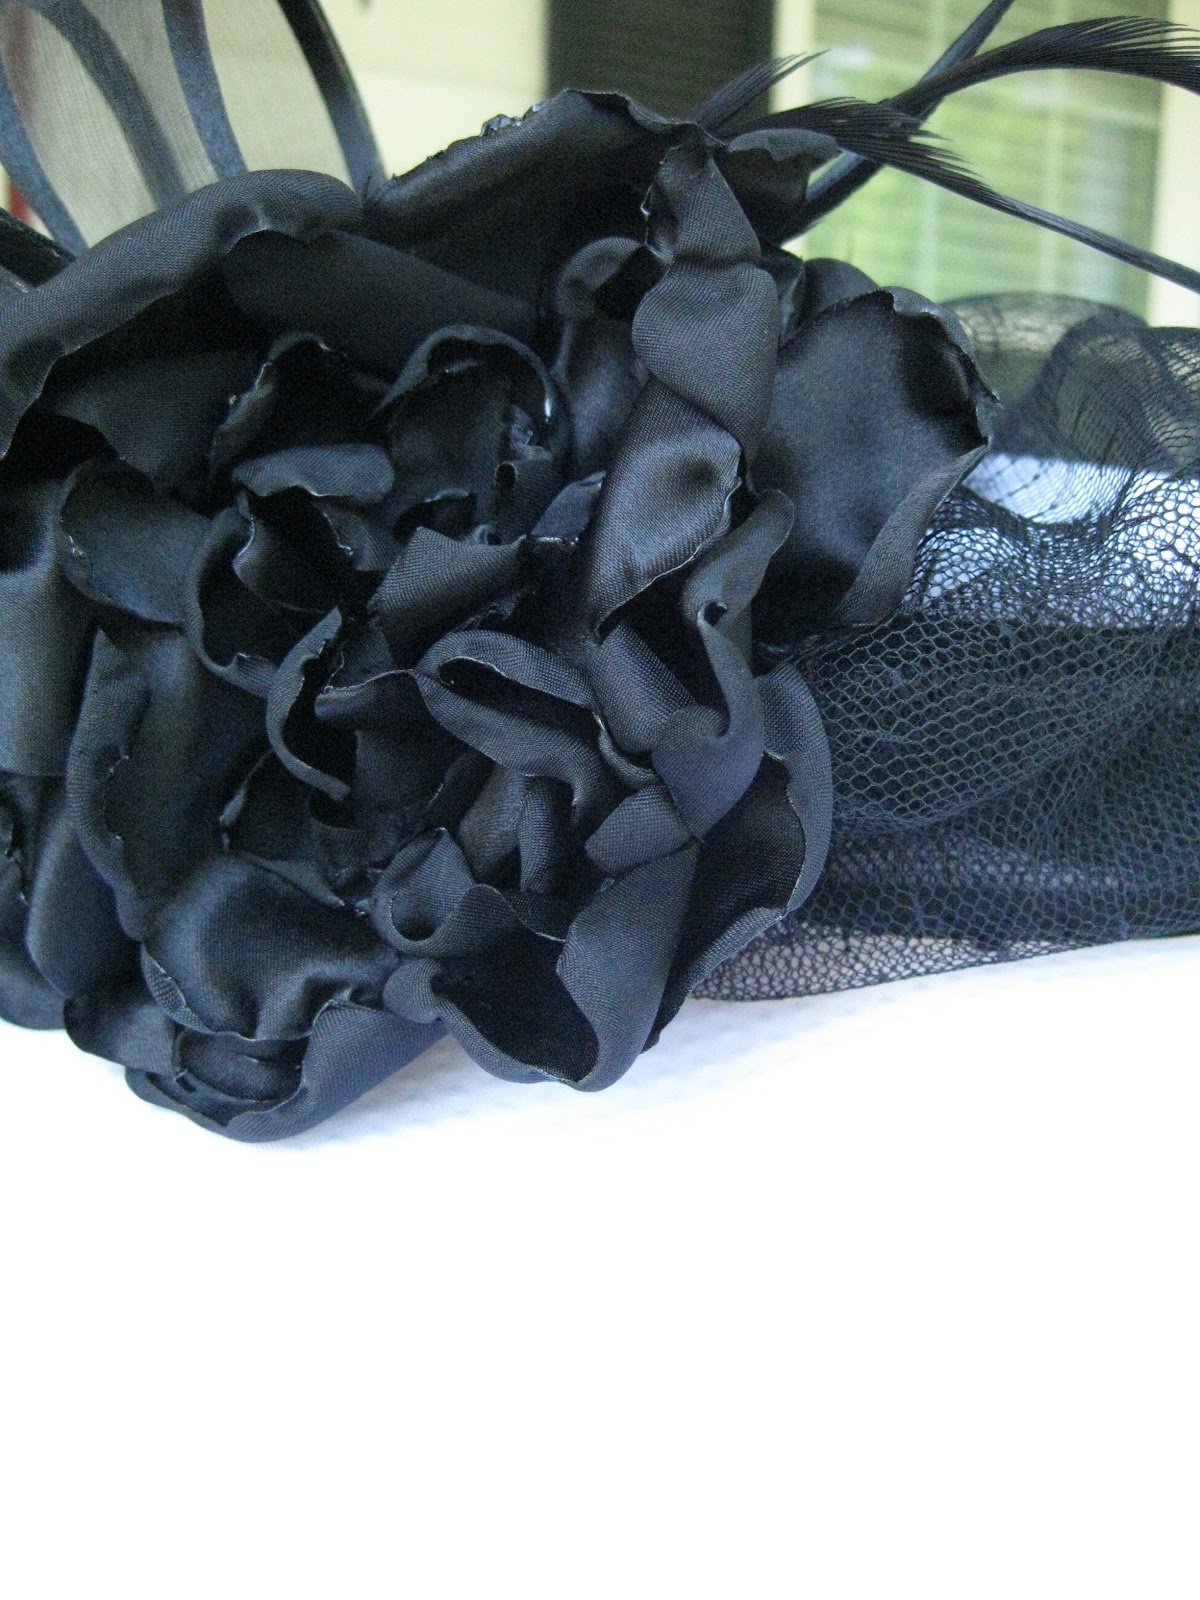
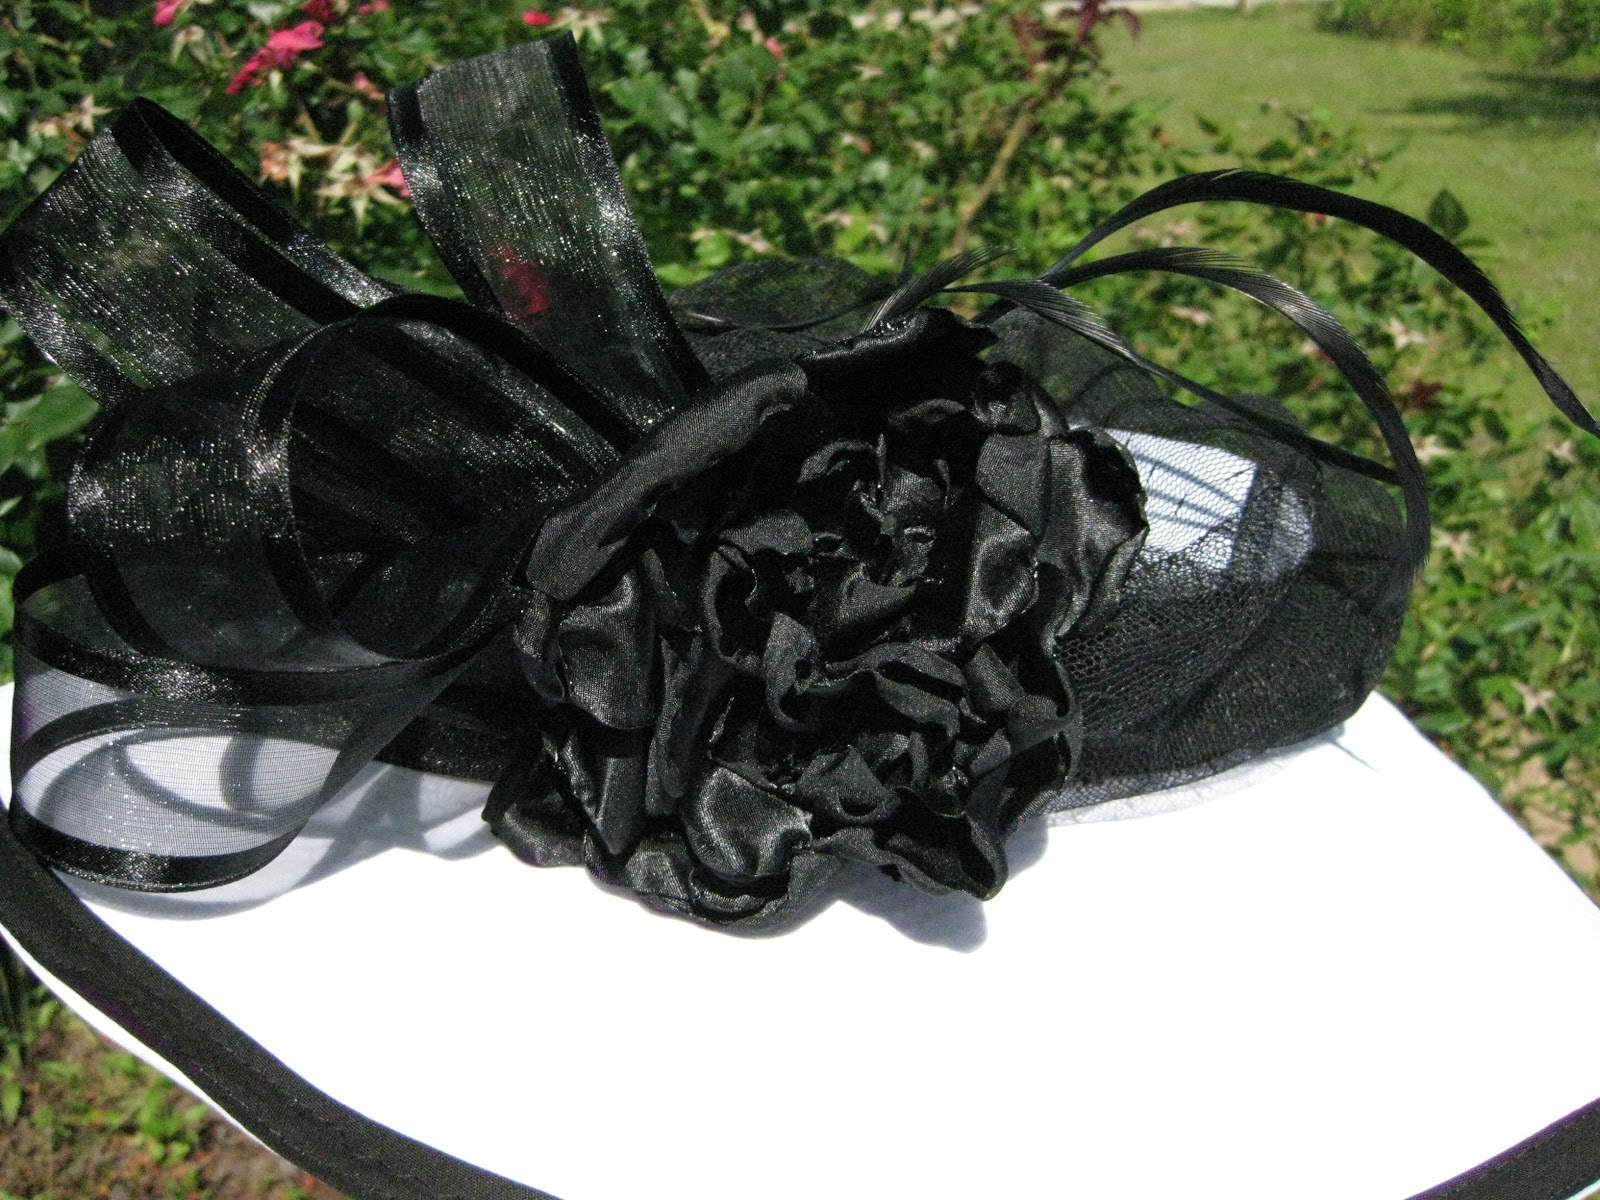
I then decorated it with stuff I had in my craft closet. The netting I had already and just sort of covered the brim with it and tucked the ends under the ribbon around the crown. I used more of the ribbon to make a sort of bow. I knew I wanted a flower too, but the black flowers in Hob Lob were ugly and looked like death. The white Lilies I got didn't look as good as I hoped. So I Googled how to make fabric flowers and that is what I came up with. I love it! I also added some long, skinny feathers that I had to give it some movement, and because fancy hats should have feathers. I didn't glue any of the embellishments on just in case I wanted to take them off later on down the road and change the look.
What do you think? Not too bad for not having a clue what I was doing!

Ooooh, I also won a prize in the "fashion show". A gift certificate to Charming Charlie, a jewelry/accessory store where everything is separated by color. Makes me so happy.


sew many ways

Monday, April 25, 2011

Bandana Shirt

When I saw Living With Punks cute green bandana dress, I knew I just HAD to make one for my daughter. Only problem is she is a little too big for it to work as a dress, so we made it into a shirt. I think I may make another one and add some bandana ruffles to the bottom to make it a dress. It was so quick and easy to make, and the color options are vast! The bandanas were only 99cents each at Hobby Lobby! 


Be sure to visit Living With Punks blog for her great tutorial on how to make your own.
A few things I did differently. I didnt cross the straps in the back...oops! I also made the straps a little wider than suggested. I cut some extra fabric from the bottom and serged the raw edges, but didnt turn up the hem. Its still cute and decorative. Also, when I sewed on the elastic thread, I simply turned the fabric and continued sewing the next lines. This saved on thread, and time. Isnt it adorable?


Linking to:
Get Your Craft On Tuesday
UndertheTableandDreaming


sew many ways

Thursday, March 31, 2011

Cash Envelope Wallet

Just wanted to show you this fabulous cash envelope style wallet I sewed this past week.


I did several searches online to find just what I was looking for. I wanted room enough for my cards, receipts/cash, and great organization. I was hoping to find a free pattern, or just figure it out on my own. I finally came across the perfect wallet, but it was on Etsy (BTW how do you pronounce that?). I figured I could just wing it but realized that there was no way I could do it so nicely on my own. Not to mention the frustration of trying to figure it out. Boy am I glad I didn't. Allison's shop on Etsy, Tres Marias, has the BEST pattern I have ever used. Well worth the $10 for the pattern. The instructions were so easy to follow, understand, and well written. It included several great pictures for reference so that I knew I was doing it right. I really wish she wrote patterns for Simplicity and McCall. A nice plus for me was that I ordered it, went to take my shower, and by the time I came back to the computer she had already emailed my pattern to download. If you don't want to sew one, she makes some super cute ones for her shop.
Dont you love this fabric? Remember my Iron post, where I had my fabric laying out underneath it? Yep this is what I did with it! I got it at Hobby Lobby. If you are wondering why its so shiny, that is because I used a really awesome thing called iron on vinyl. It's just what its called. Basically turns your fabric into a type of oilcloth. Super easy to apply, and I hope it will help keep it stain free. You can sew right through it too. I got mine at Hobby Lobby on the notions wall.
The other side of the envelopes has 3 more card pockets and one big pocket. If I carried around a checkbook it would fit nicely in one of the big pockets. You cant see it here, but there is also a zipper pocket . I hate doing zippers, but the instructions made it so easy to do, and I have never had a zipper look as well as this one did.
Guess that's it!  Check out her great shop, and someone please tell me the proper pronunciation for Etsy!
Linking up with:

Visit thecsiproject.com


sew many ways