Showing posts with label My Life. Show all posts

Sunday, November 13, 2011

My first pair of knit gloves

Well, it only took me 11 months, but I just finished my very first pair of knit gloves. It really wasnt hard at all to do. Just boring. I made the first one in January this year. It only took me a few days to finish up the second one. It was just starting it up that I didnt want to do. I am not as in love with them as when I started, but having accomplished them makes me feel happy.
These aren't just any gloves. No, I made them with holes in the forefinger and thumbs.


Why? Because I thought it would be cool to be able to do this while wearing gloves.


 And even this!

 All I did was find a simple glove pattern in one of my knitting books. Since this was my first time making gloves I wanted a pattern that used Worsted weight yarn so that it would knit up quickly. I followed the pattern as written, but instead of finishing off the tops of the 2 fingers on each glove I simply cast off all the stitches at a length that I thought would be good.  I like them. Now my hands can stay warm when I am taking pictures in the cold months.
I am happy to be done. Now I can move on to another partly finished craft project. Or better yet, read that new Nicholas Sparks book that I just got in!

Saturday, July 23, 2011

A New Roof

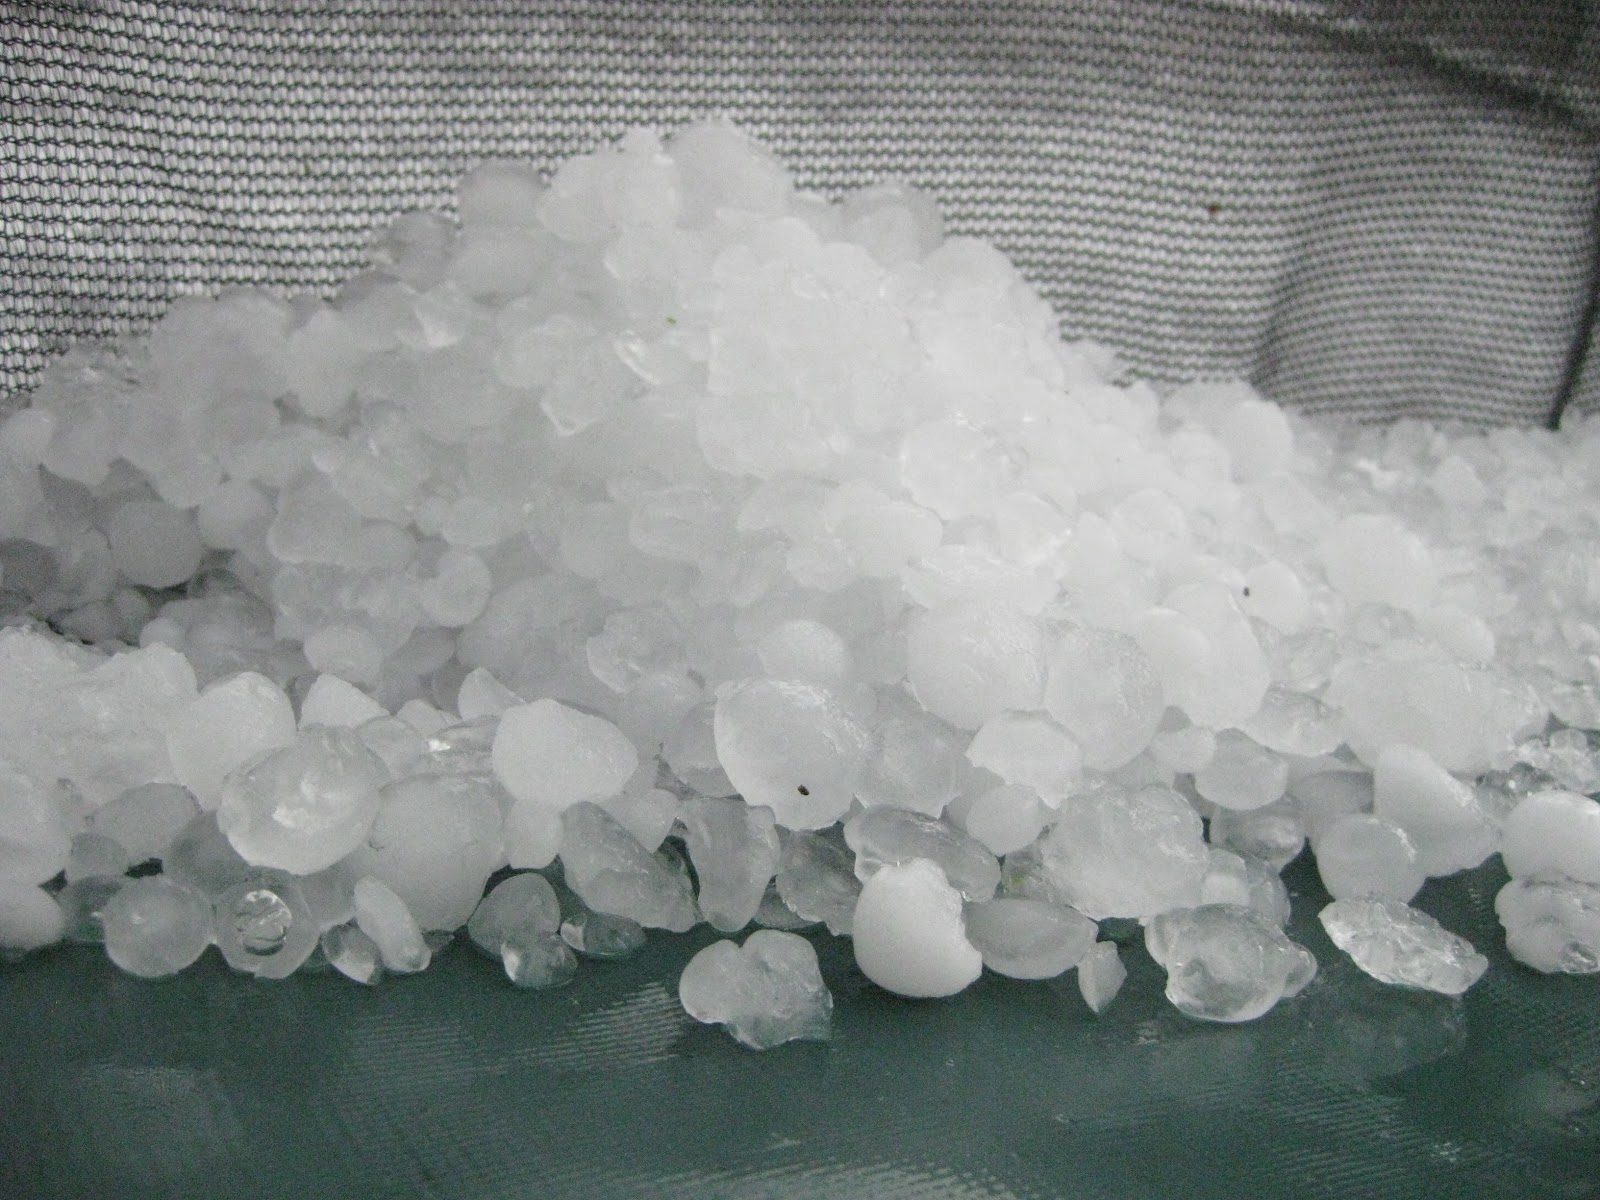
On March 26th we had the worst hail storm I have ever seen. It was actually quite fascinating. I always enjoy seeing hail, especially when its hot weather (yes it was summer like in March), so I was standing at the windows watching it. When I realized that it was getting harder, I shoved everyone out of the way and ran to the front door to capture this video.

Ok, the blogger quality really stinks and it added a chirpy noise, but you get the massiveness, and loudness of this storm. When it cleared up I went out and took some pictures.


I heard there were baseball sized hail down the road. It stripped the trees nearly bare and there was a lovely pine scent to the air when it was all over. Smelled like Christmas. Several weeks later I was driving down the interstate and enjoying the bright green spring of the trees when I came to a section where the trees all looked like it was still winter. I realized it was from this storm.
 
  Within minutes of the storm passing there were roofer wars going on all over our mailbox. One would put up a flyer and another would come along and take it down and put up his own. Blue tarps and roofer signs were seen everywhere. Now our house is only 5 years old (nearly 6 now) so my husband didnt think anything was wrong. I was concerned with the old outbuilding that came with our property. 
 Well, we did nothing about it, until the appraisers came to appraise the house for a refinance. They noted that we might have hail damage because quite a lot of folks in the area suffered damage from the storm. We couldnt get it refinanced until an inspector came out.. blah blah blah now we have a new roof. The old shed is really the only one that needed to be fixed, but apparently our shingles werent properly installed when our house was built so the roofer we chose talked the insurance agent into replacing it now instead of down the road when it could possibly be worse off. The only damage we had inside was a small water stain in my daughters bedroom ceiling. We figure it was from a vent boot that wasnt properly installed. We were right. 
They finally came and installed our new shingles this week. Here are the before and after pictures.I took the before and after at totally opposite times of day, but you get the picture.

Before:
After:

We tried to stick with the same-ish color because we still loved the gray. However the roofer suggested a shingle with a bigger color variation so it looks like it has more texture. Since our property is lower than the road the roof is well seen. I just love it!  

Made me so sad to see my house with the big blue tarp on it :(


Shed -before
  After. I really want to paint this ugly beast. The new roof makes it look so much better already.
This was the best kind of makeover. One where I didnt have to do any work and the insurance paid for it. Yay!

Tuesday, May 24, 2011

I Was Featured!

My Burlap Pegboard was featured over at Knock Off Decor! YAY! Please take a minute hour (or two) to check out all of the amazing knock offs at this fabulous site. There is so much inspiration there for items you would find in a magazine made cheaper by folks like you and me.


Wednesday, May 4, 2011

Fancy Hat

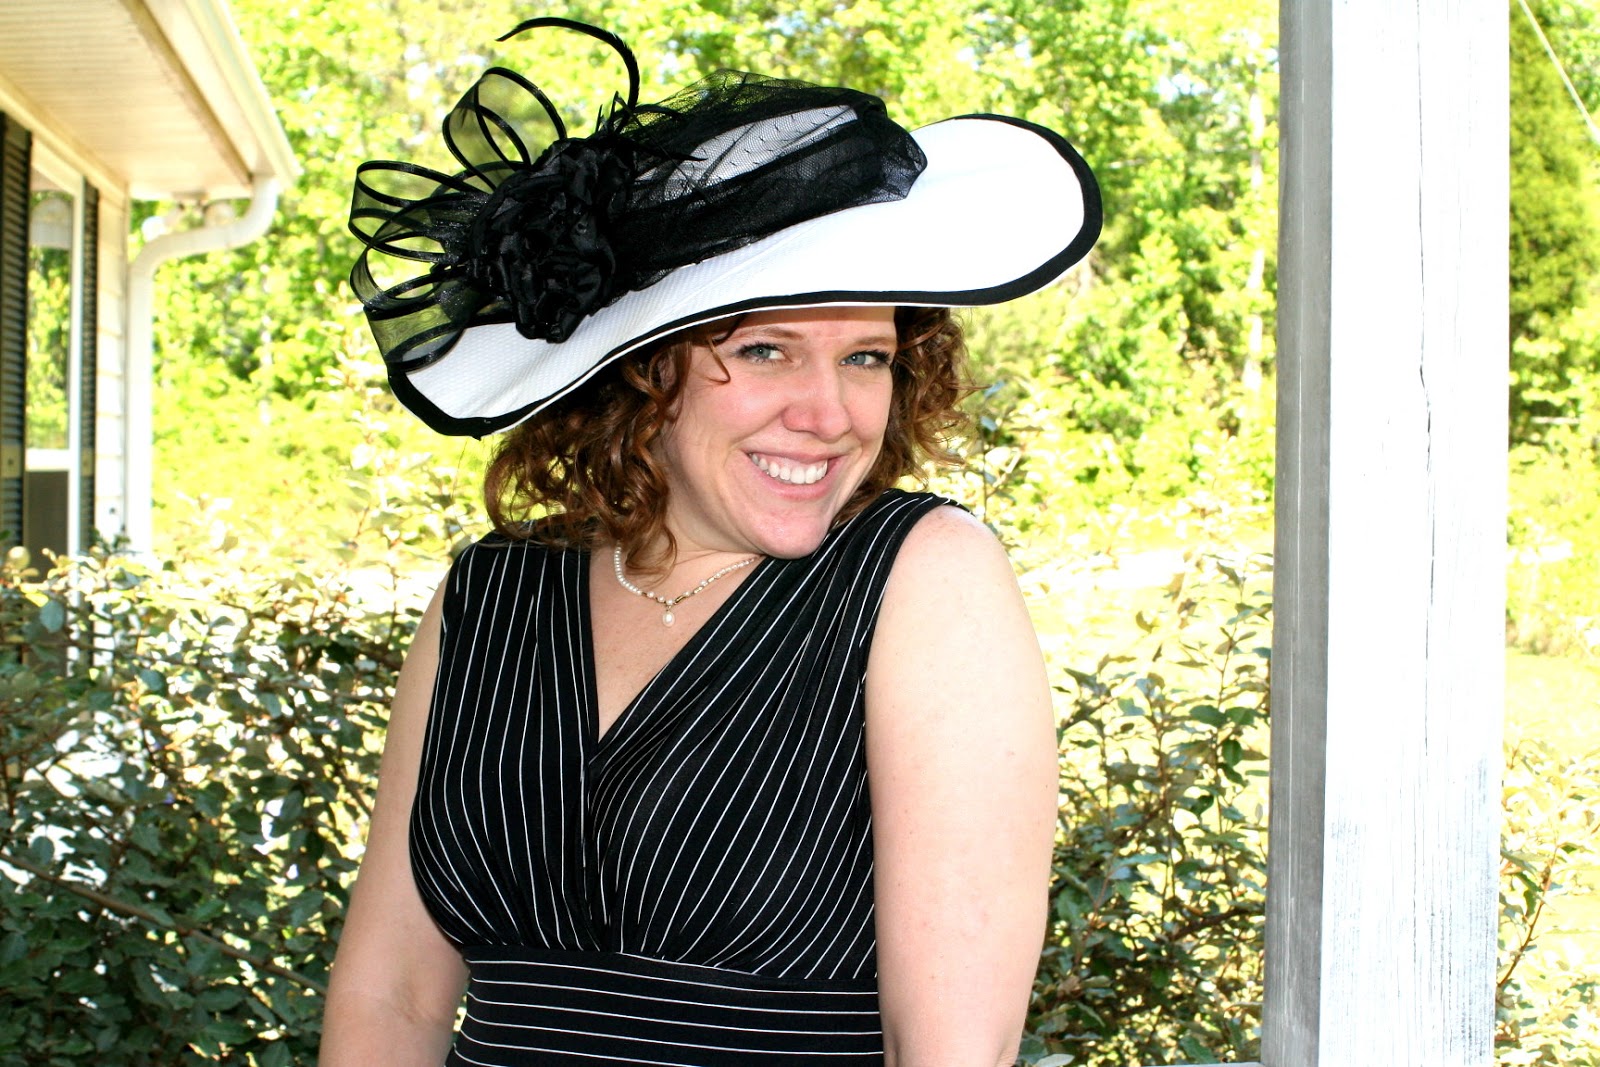
Last week my church had a Mother/Daughter tea. We were encouraged to dress up in a hat and gloves. Well, I happen to love to dress up and dont get many opportunities to, so I was all for that. Not wanting to spend 30 plus bucks on an ugly plain hat, I set off to make my own... because I love trying new crafty things. Since I didnt know what on earth I was doing this tutorial is not very good. Still, I thought I would give you a couple of the steps I did to make my own hat.
I found Buckram in Hobby Lobby. Probably not thick enough for a true Milliner, but it worked for me. I got a yard (maybe and a half) of it to play around with. I also bought a $2 straw hat that I was going to spraypaint and glue flowers and feathers too just incase it didnt turn out so well. I ended up using it as a pattern. I traced the brim onto 2 layers of buckram.
Side note: Cool thing about real straw hats is that they can be sprayed with water and shaped. I pushed in the top of mine because I was going to do something that I cant remember.
So I have a toilet seat looking piece now and then I cut out a circle in the middle, big enough  to fit my head, for the crown. I may have used the straw hat as a size guide too.
On the outside edge of those circles (remember I used 2 layers of buckram) I zigzag stitched some floral wire onto it. Floral wire because I didnt have any milliners wire, and it was it is pretty stiff wire. Green yes, but it didnt show in the final product.  I then cut some more buckram, about a 2 inch wide strip and whip stitched it to the wired circles. Hey! This looks like a pillbox hat!
 I also wired the brim, but I added the wire between the two buckram layers. This came in handy for shaping the brim. I wanted it to dip in the back and arch on the side.
I then covered the "pillbox" crown and brim with my fabric. A lovely Swiss dot-ish looking white fabric. I used Aleens tacky spray adhesive because I had it. Hard to tell here, but thats the fabric. Found it at Hobby Lobby also and bought a yard of it.
 Next day I sewed the crown to the brim. Around the edge of the brim I sewed on some white bias tape to cover the raw edges and wire. I then decided I liked the look of a black trim around the edge, but I had already bought white and sewn it on. I had some black, but it was narrow, so I only sewed it onto the top of the rim right on top of the white bias tape. (seriously lacking in pics because I had given up on a tutorial by now)
In this pic you can sort of see under the lacy netting where I took a sheer,wired, black ribbon and tacked it around the crown of the hat to hide the seam where it met the brim.

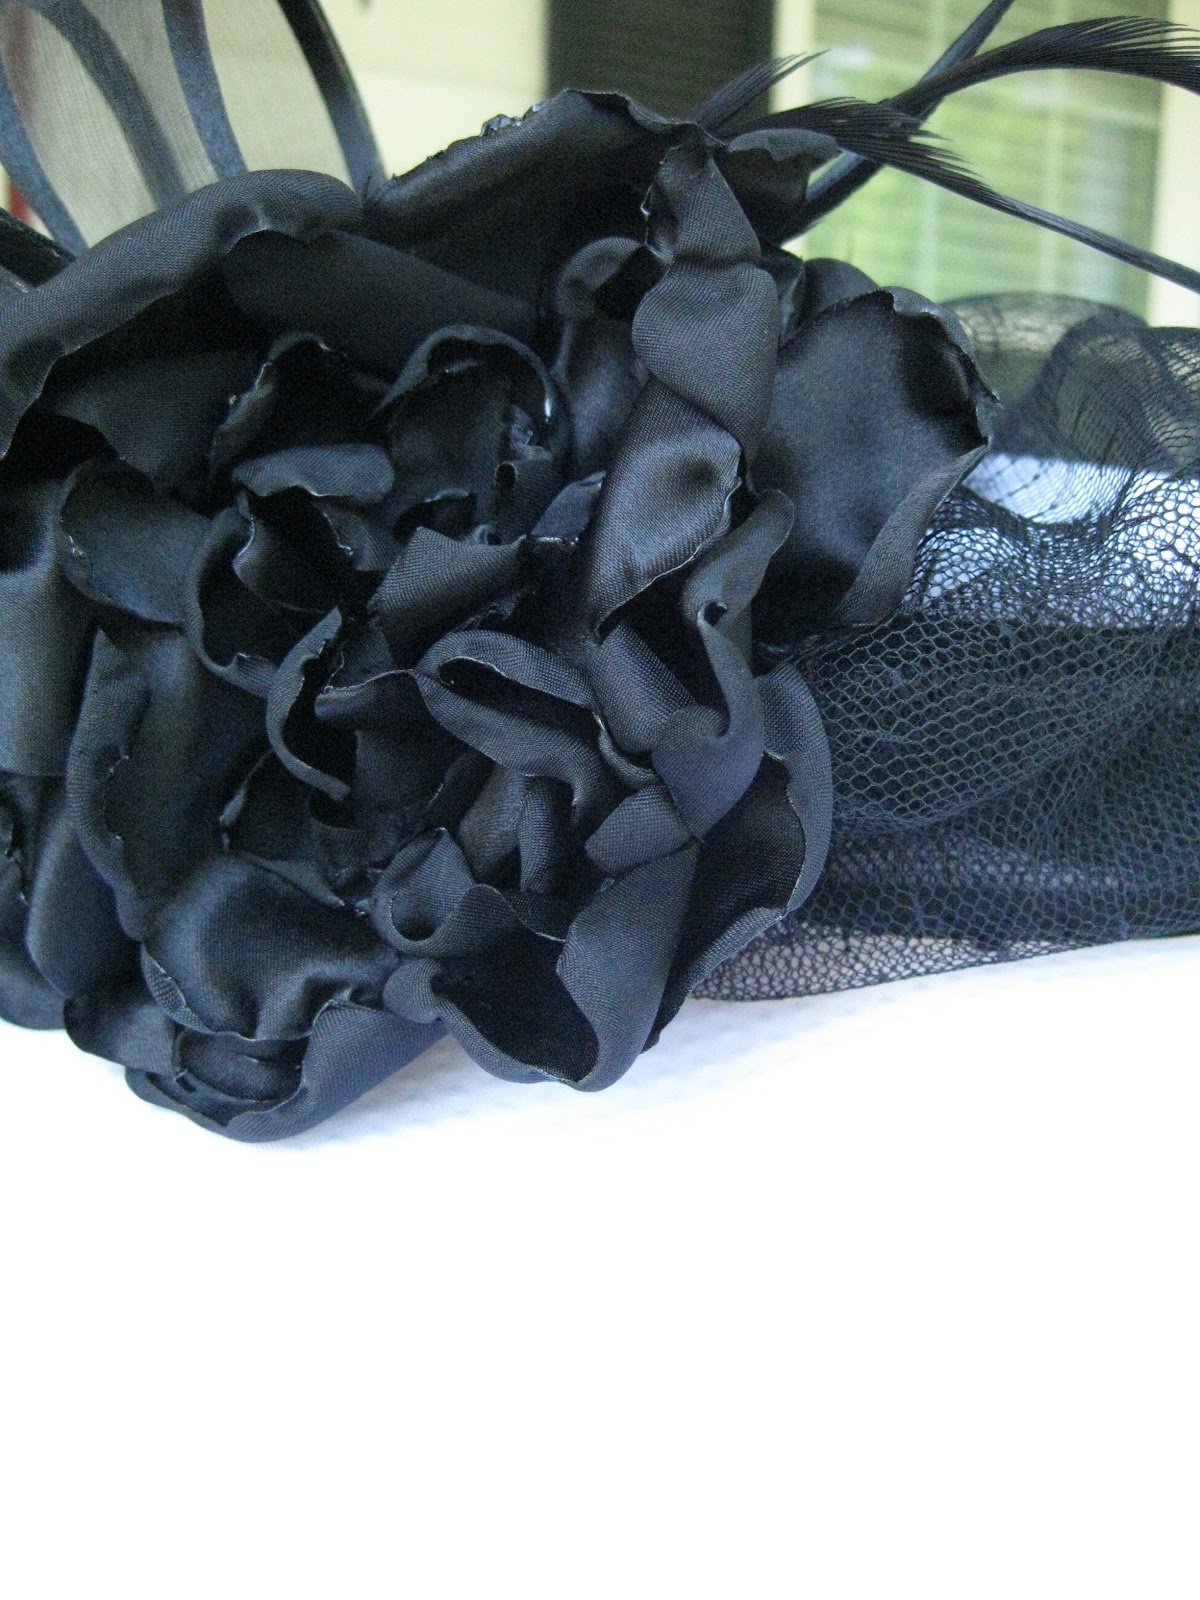
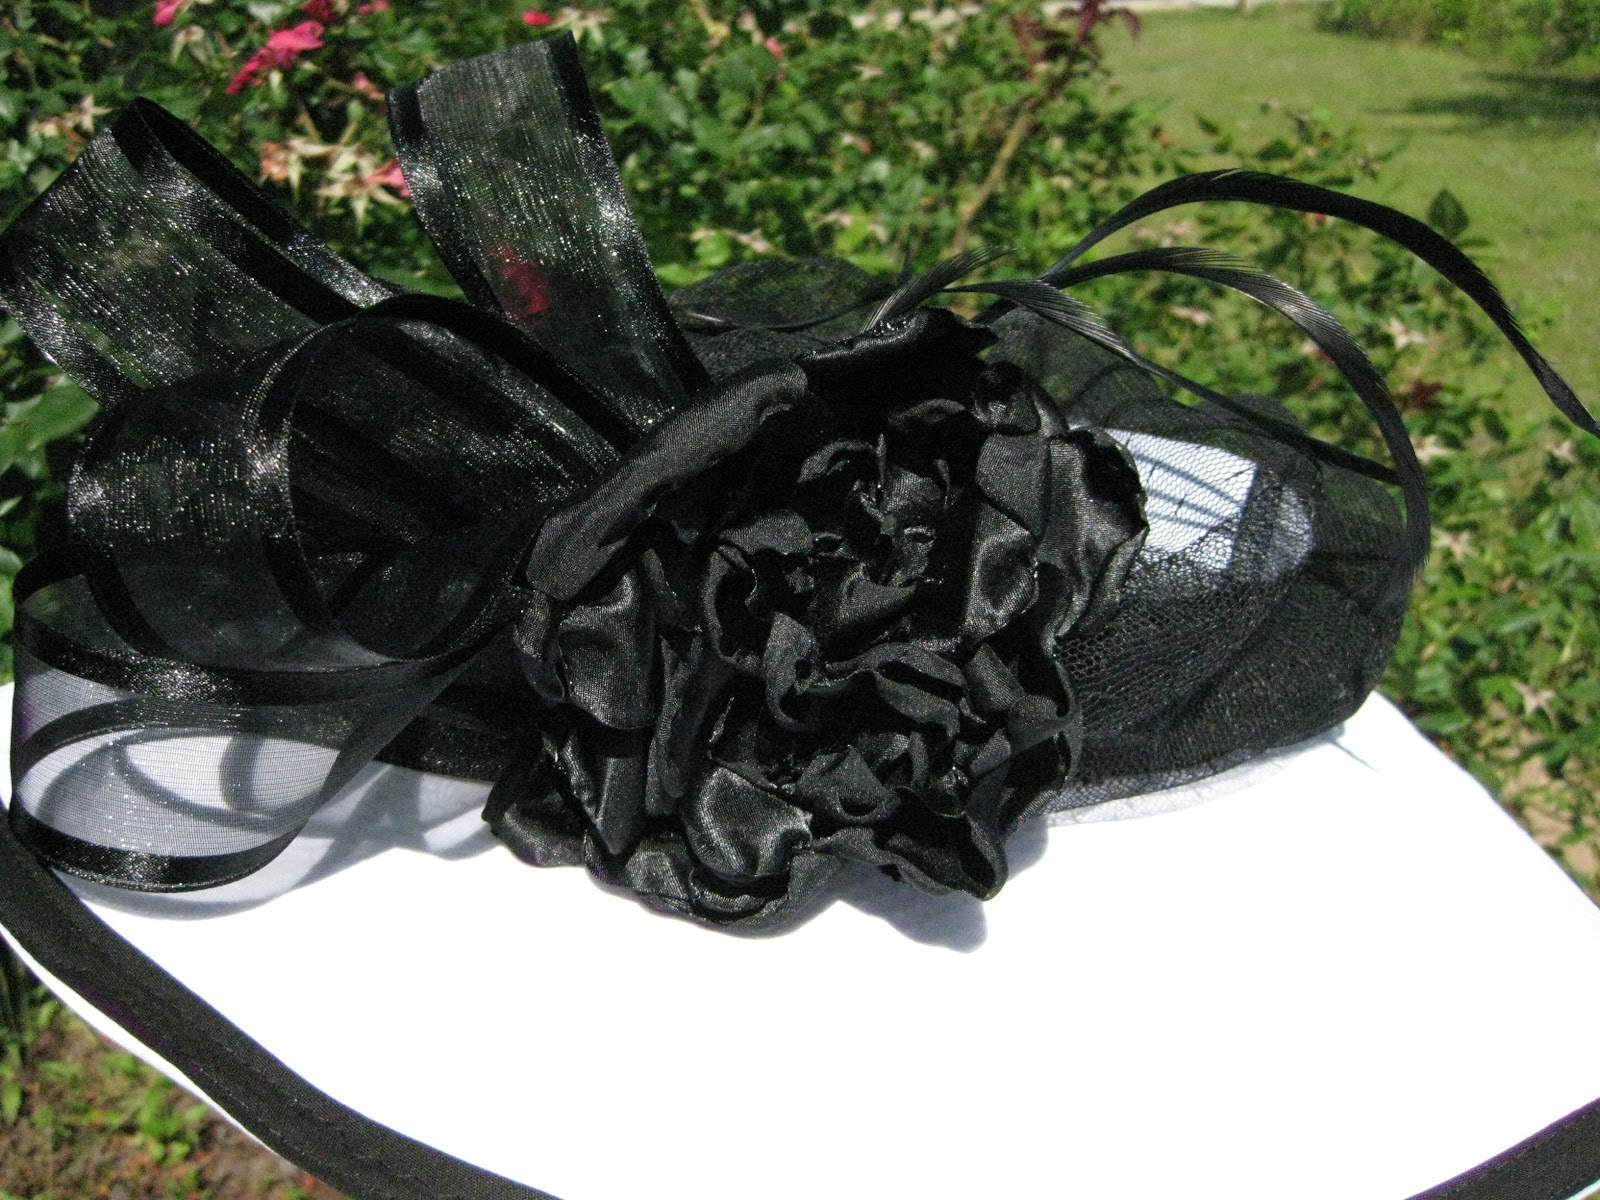
I then decorated it with stuff I had in my craft closet. The netting I had already and just sort of covered the brim with it and tucked the ends under the ribbon around the crown. I used more of the ribbon to make a sort of bow. I knew I wanted a flower too, but the black flowers in Hob Lob were ugly and looked like death. The white Lilies I got didn't look as good as I hoped. So I Googled how to make fabric flowers and that is what I came up with. I love it! I also added some long, skinny feathers that I had to give it some movement, and because fancy hats should have feathers. I didn't glue any of the embellishments on just in case I wanted to take them off later on down the road and change the look.
What do you think? Not too bad for not having a clue what I was doing!

Ooooh, I also won a prize in the "fashion show". A gift certificate to Charming Charlie, a jewelry/accessory store where everything is separated by color. Makes me so happy.


sew many ways

Tuesday, April 19, 2011

Facebook Page

I did it. I made a Facebook page for my blog. I feel silly doing it, because my blog is not too special, and I only have 22 followers (one is me). Thank you, all 21 followers. I am truly honored to have you as my blog followers!
If you are interested, please like my Facebook Fan page too!


Wednesday, March 16, 2011

Old Metal Crate

I spotted this old metal crate at my moms house. Actually I have seen it before, but yesterday I saw it from a decorating view... which was hard to do because it was sitting on top of the lidded cat box (ewww). I asked if I could have it and she said as long as I found a place for the crap (not literally) in it. Lucky for me the "crap" was already in another container. Easy!

I am thinking about making a liner from the leftover burlap from my Burlap Pegboard project. What do you think? I love these old crates. I need bunches more.

Tuesday, March 15, 2011

New Iron

I am one of those girls who hates to iron. My idea of ironing is spritzing a garment with water and tossing it in the dryer. The only time I really iron is when I sew, and I am not an avid sewer... probably because of all the ironing. So my recent purchase really doesnt make sense, but.. heck.. I really wanted this iron.
Que angel choir. I promise I hear it everytime I look at it, and when I got the box in the mail today.
Look at all those steam holes! 400 according to the box. Should make ironing much easier

And here is my old Black & Dekker. I think it is about 13 years old. 
So I got this on sale at Kohls. Of course they like to mark things about 30% more than the MSRP and then put stuff on sale to make you think you are getting a deal. It was $99... that is the MSRP. BUT I had a 30% off coupon, plus a $25 gift card, plus I found a free shipping code (didnt feel like going back to Kohls that day) PLUS I got $10 Kohls cash back. Ends up being about the same price as my old iron and this one is WAY better. One last look shall we?
How do you like those 2 fabrics under the iron? I have plans to make a cash envelope style wallet with them. Hopefully I will get to it this week and post by next week. Thanks for letting me show off my lovely Rowenta.

Thursday, March 10, 2011

Natural, Non-toxic, Face Cream.

Did you read my post on Toxic Beauty? Well, I thought I would share with you my easiest non-toxic beauty product. Its so simple! Raw Unrefined Shea Butter... thats it, really. It is my most favorite face cream. I use it at night and in the morning.
Shea butter is a natural wrinkle cream. It is great for stretch marks, dry and chapped lips and skin, acne, cracked heels, diaper rash, eczema, psoriasis, bug bites, dark spots, cuticles, hair and scalp, sunburns... great all around moisturizer and skin protection.
I have been using it for a few months now and I am so pleased with the benefits. I recently tried a different homemade face moisturizer recipe and the next day my face was all red and bumpy.

 Here is what my shea butter looked like when I bought it. 
Shea butter is great all by itself, or you can add some essential oils. I have mixed mine with Frankincense and Myrrh which are great for your skin. Be careful of Myrrh if you are pregnant though because ingested it can cause bleeding. Going on your skin it may be fine but I would be safe and avoid it. If you like lavender it is good for your skin also, as well as tea tree oil.
To mix I added some chunks of Shea butter to a small glass jar, then put the jar into a cup or bowl. Something that is taller or as tall as the jar. Into the bowl add boiling or very hot water. It's like a stoveless double boiler method. This will melt the Shea butter quickly since it has a low melting point. I don't recommend using a microwave but that's just me. I stirred mine with a toothpick, popsicle stick, or bamboo skewer. Makes for easy clean up. Once it is melted add your essential oils. I dont know if there are any rules to how much you should add. I read somewhere that 10 drops to every 2 oz. was a good ratio.
I have learned a lot about Shea butter. Here are a few things you should know before buying: you definitely want to get the unrefined. Refined is often done so with chemicals and we don't want chemicals on our face. I don't think the benefits are as great either.
Shea butter is very soft with a low melting point, so it will melt on your skin from your body heat. When you rub it on your face it feels almost oily, don't panic, it will absorb and leave your skin super soft. I was afraid that my sensitive skin would break out badly by putting this "greasy" feeling stuff on it, but it didn't. It healed my acne and my skin has a smooth appearance now. I still slightly break out  monthly, but it heals quickly now and is not as bad.
It has varying yellow colors, so if you get yours and it doesn't look like the picture from the site you ordered it from, don't worry. Depending on how old it is or even what part of Africa it came from can make a difference in the color. It also has a smoky, nutty... strange smell. Not bad, just strange, natural, different. Since it is a nut I don't recommend using it if you have nut allergies.
You can find it all over the place, its often found mixed with other ingredients. Stick with pure, unrefined. That's all you need. I bought mine from Soap Goods, because they had a decent shipping price.
I have made a couple other recipes with my Shea butter which I will share with you later.
I figured I pay $0.56 an ounce... so cheap! Olay anti-wrinkle cream is about $6.00 an ounce and contains toxic ingredients. So see!  In this case its cheaper to go "natural". Give it a try and let me know what you think.

p.s.
I am not a doctor, have no medical degrees or licenses or anything. Just sharing what I have read, and learned and experienced. Your results may vary from mine. I have very sensitive, acne prone skin.

Tuesday, March 8, 2011

Sisters.... Sisters....

Many of you know I do a photoblog with my sister. Its random and fun. If you don't know about it I would love for you to take a peek at Sisters... Sisters. I just posted a new post, and we try to do so twice a week.


Sunday, March 1, 2009

Snow in Georgia

We got a little snow "storm" today- March 1, 2009


Snow is a rarity around here, especially this much. People start freaking out, and
the news stations scare the crap out of every one.
The kids and I had a great time playing in it though. I made a snowman, and the kids
ate the snow off of the bushes. It was lots of fun. I got a great idea
to put on disposable latex gloves under our regular gloves to "water proof" them,
and to keep our hands warmer. Hannah and I had them on but Curtis didn't. We had toasty warm and dry hands, and Curtis' were freezing! Sometimes I get good ideas and surprise myself.

My snowman... bum kids wouldn't help!


Curtis eating snow!...yummy


Hannah making snow pizzas, and playing some made up game with them.