Thank you all sooo much for your lovely comments on my Burlap Pegboard. I used it for the first time today and it is so convenient.
This is what we had once we hung it up. The boards were 2 different shades of white :(
Brandon had to cut about a foot off of each board. The extras I used in my craft closet and made a mini board... awe look how cute! I still have to "decorate" it. That is for another post. You can see in this pic the peg holes underneath.While I was in Home Depot I tried to think of what I would use to hold my dowel rods. I didn't see anything in the pegboard accessory section, and I was looking for those big cup hooks you can get that are coated with a rubbery layer. I figured it would help grip the rods. For some reason I couldn't find them but I did find some Eye Hooks. I found a size that would screw somewhat snugly into the peg hole.
And then! I dipped them in Plasti-Dip! This stuff is so much fun. I have always wanted to try it out and so I thought this would be the perfect opportunity to use it since I couldn't find my plastic coated cup hooks. I found the Plasti Dip in the spraypaint section at Lowes.
I wrapped a piece of jewelry wire around each one to dip them in the Plasti Dip and hung them to dry. They dry quickly. This gave them a great non slip finish. While I was at it I dipped some pliers handles, a hook, some clamp handles... I had lots of fun plasticizing everything. These hooks are a tiny bit too long, but I wasn't worried about them going slightly into the wall in the back since I don't intent to ever take it down.
Next, I basically just cut my burlap bigger than the board. Oh, I got my burlap at Hobby Lobby. Cheap, fabulous, burlap. I was able to use my electric staple gun on the sides of the board where the frame was... well only on one side because my gun wouldn't fit on the side next to the wall. The glue gun came in handy there.
Because we only framed it out in an "H" shape, I didn't have any thing to staple the burlap to on the top and bottom. I tried stapling to the pegboard and it just laughed at me. I suppose I could have used the glue gun on that part too, but for some reason I decided to use this awesome tape I found at Michaels.
This junk is amazing. I just cut strips, pressed it to the fabric, peeled off the backing, pulled the fabric tight and pressed in place on the back side of the pegboard. Its terrifically strong tape.
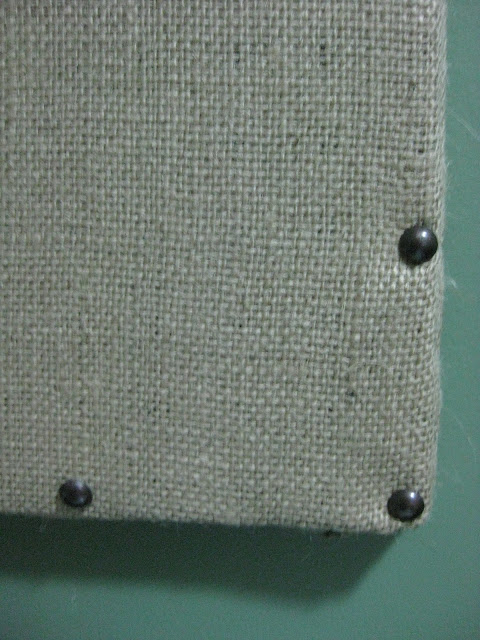
Remember to pull the fabric tight as you staple then tape. The side I had to hot glue is kinda loose, but that glue was wicked hot. I burned the mess out of my finger (that's southern for crap). After that was all done I nailed and glued in some furniture nails. Got a few packs of these for really cheap at Lowes ($1.24 each). They had several colors but I liked the bronze ones best.
I was able to nail them along the sides but had to glue them to the top and bottoms. Use pliers if you can. The metal also gets quite hot. I started in the corners and then the middle and then about 2 in between those. Just make it look pretty and somewhat evenly spaced. I bought 4 packs of the nails for both boards and still have some left over.
So on to the accessories! I started out on the bottom with my paper. I screwed in the screw eyes and left 2 empty peg holes between the screws for spacing. This would give enough room for bigger rolls too. I got my dowel rods from Michaels and I didn't cut them. They were the perfect length for me.
I found this stuff in my husbands craputer room. Its basically a double sided velcro. It worked nicely to keep my paper rolls from unrolling. Though I think it may be fine without it.

The white baskets I hung with some "L" shaped hooks that came in a multi-pack, pegboard accessories kit. The bags are hung on a pegboard rod. Its just a little rod that is about 7 inches long. I dipped that in the plastic stuff too... because it was so much fun. The scissors are resting in another accessory kit item that is probably used for pliers. It was really late at night and I wanted to get the board done so when I came to the shirt boxes I just used what I could find. I decided to cut some strips of burlap and make loops to hold them in. And sewed on a button for cuteness.
These I impaled on some more accessory hooks.
All I was left with was the tissue paper. After some thinking I decided to use a plastic skirt hanger I had and just clipped them, then hung them on another screw hook that I screwed in just behind the gift bags.
I guess thats about it. Thank you for reading my book. I hope you enjoyed it. I know I didnt. I am so glad this post is over.
The end.
I'd be happy to answer any questions that I can.


